
For years, when the boys were small, I made numerous novelty cakes for their birthdays but none as easy and yet so effective as this one so I thought I would share some photos with you.
First he made a basic vanilla sponge mix and split the mix between 2 7ins round cake tins and baked them. He also made a chocolate fudge cake in another 7ins cake tin (sandwich tin) .
 |
| Making The Sponge |
 |
| Cooling The Sponge |
 |
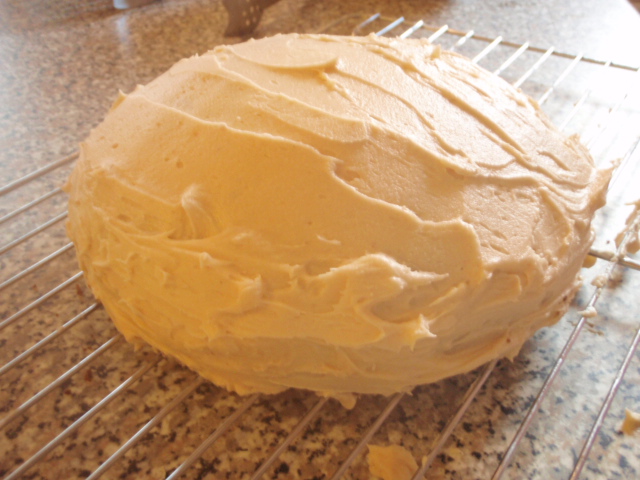
| Icing The Base |
 |
| Green fondant Circles |
 |
| Adding The Lettuce |
 |
| Looks just like cheese! |
 |
| Looking tasty with tomatoes and cheese |

 |
| Icing the cake top |
 |
| Fondant Sesame Seeds on the Cake |
 |
| The Completed Cheeseburger Birthday Cake |
Apparently it took him a while to convince everyone at the meal that he had made it himself but all guests thought it was brilliant, especially the birthday girl!
 |
| The completed cheeseburger birthday cake. |
Many thanks for popping by, now head over with me to Handmade Monday to see what other crafters have been up to this week. Have a great week.


